Project logo
Photo courtesy of .
How to Make a Modified Phishing URL
By Algae S. Densing
Algae S. Densing
First Published: 2016/02/15
This guide is for those beginners who wanted to setup their own phishing website. It is for educational purpose only. Remember hacking, scamming or any illegal activities on the internet is a crime.
- The Cybercrime Prevention Act of 2012, officially recorded as Republic Act No. 10175, is a law in the Philippines approved on September 12, 2012
You need the following:
- Web Hosting Service
- Domain name
- Valid E-mail Account
- Basic HTML
- You have already created your phishing website.
- Patience and Common Sense
Legends:
If there is a RED color it means that it is very important.
If it has an Italic format then it is a note.
Part 1: W e b H o s t i n g
1 Finding a good Web Hosting Service.
In this guide I will use uCoz Web Hosting service. The uCoz cms has 22 all in all built-in module that makes your website more elegant and well organized content in a catalog format. These are the following modules available in uCoz:
- •Users module
- •Page Editor module
- •Site news module
- •Forum module
- •Publishers module
- •File Catalog module
- •Site Catalog module
- •AD Board module
- •Blog module
- •Photo Albums module
- •Online Games module
- •Guestbook module
- •FAQ module
- •Site Search module
- •Tests module
- •Tag Board (other name for Chatbox, Shoutbox) module
- •E-Mail forms module
- •Web Pools module
- •Statistics module
- •Video module
- •Social Media Publisher module
- •E-shop (for paid users only) module
Aside from the modules it has also special features that you can use to enhance your website and it is also a great tool as your website grow in its goal.
Website Builder is one of the special tools of uCoz to obtain a WYSIWYG GUI that promotes an easy to build parts of your website. This tool you can access 29 widgets, 8399 gadgets, 20 informers and RSS Feeds.
2 How to Register
1. Copy this url www.ucoz.com/?pguid=2313319048 and paste it in your browser or simply click here.
Take note: I use the referral fucnytio. Why? If problem occurs in your own server you can contact me directly and I can use the identification code in my database to produce a direct appeal to the technical team. If your problem is a technical issues you can have an answer right away. One of the technical team and marketer of this web hosting company is my friend. And more importantly it is a sign of respect to my post.
2. Choosing a package. Since we are making a phishing website choose personal and then click "Create a Website"
- Personal - it is has free and premium package. If you a want free website you may this package. This a package is used mostly by the beginners and professionals
- Business -
- Shop -
3 Sign-up Methods
There are two methods on how to sign-up.
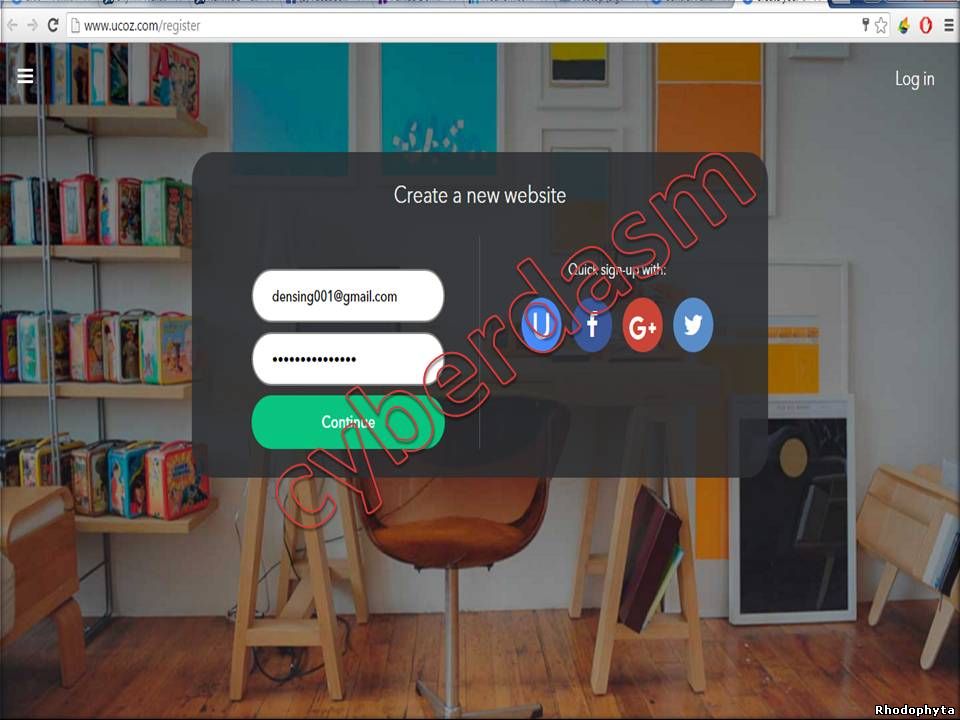
a. Sign-up using your email address.
b. Quick sign-up with social media. (If you use this method go ahead to step number 5)
4 Sign-up using Email Address.
1. Fill up those two white blanks with your email and password (Note: make sure you type your password correctly). Then click "Continue."
2.Then fill up all those name, lastname, date of birth, sex, security code (make sure you type it correctly to avoid problems), and lastly check: "I accept Terms of use of the uID community".
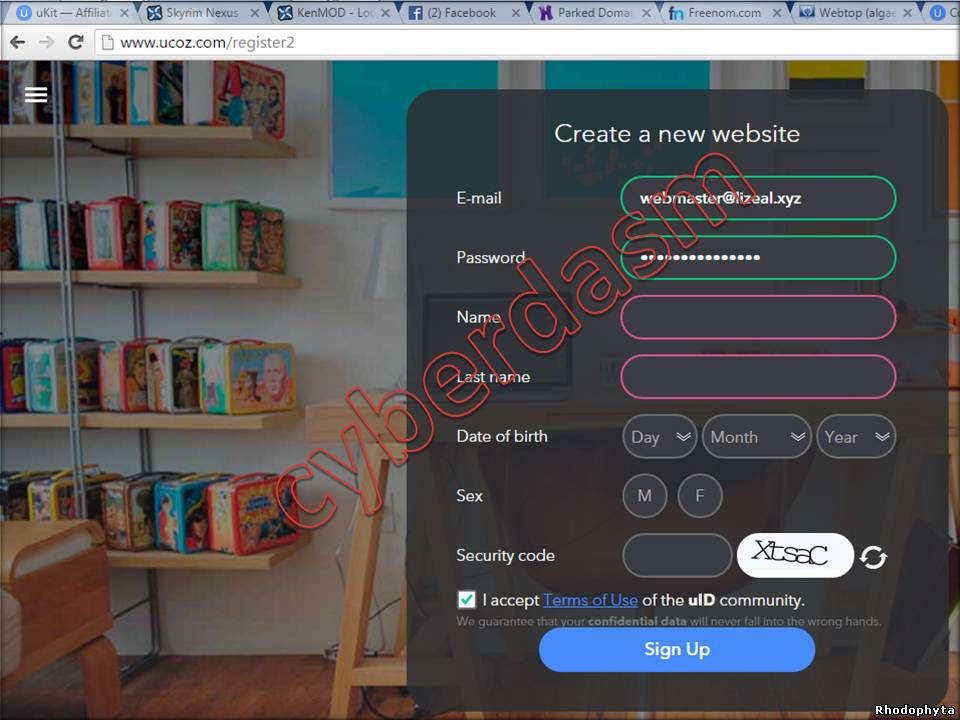
3.Then click "Sign Up."
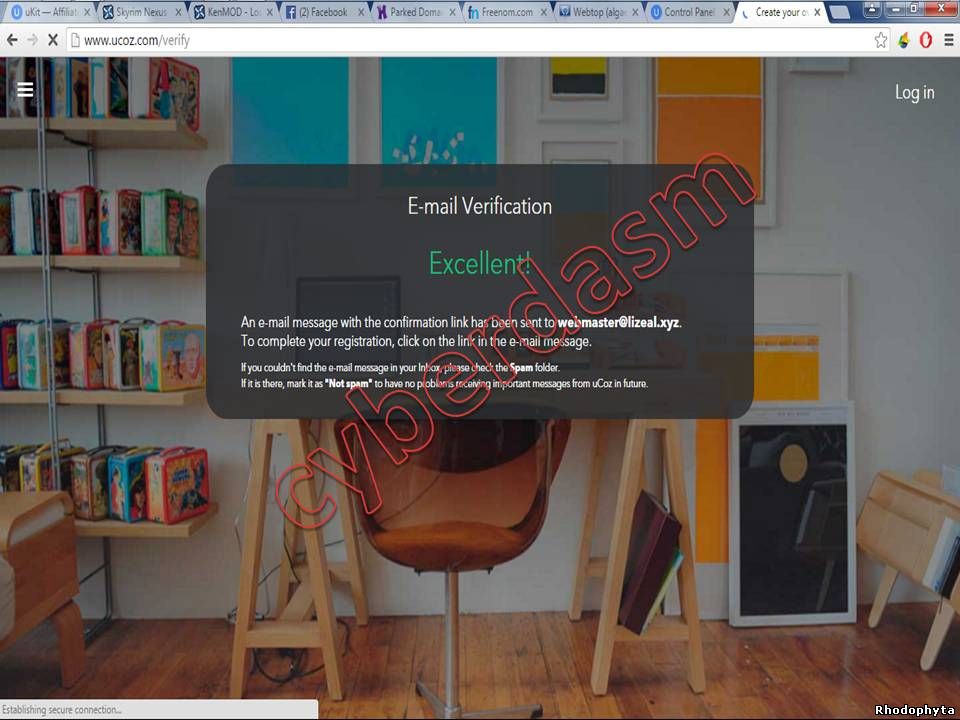
4. You will be directed to a window to confirm your E-mail Address.
All you need to do is to Login to your email accounts:
If you use Gmail click HERE. For Yahoo mail click HERE. For Outlook click HERE.
5. Find the verification mail (uID-Welcome to our community) in your E-mails Inbox. If you cannot find it check your Spam folder.
Then click the URL under "To complete your registration, please click on the link below:"

6. If you successfully verified your account your will be redirected in the image below. Fill up the country and Mobile phone number (it must be the real phone number) then click"confirm" or you can also click "skip for now." (If you will click skip for now proceed to step 7 right away)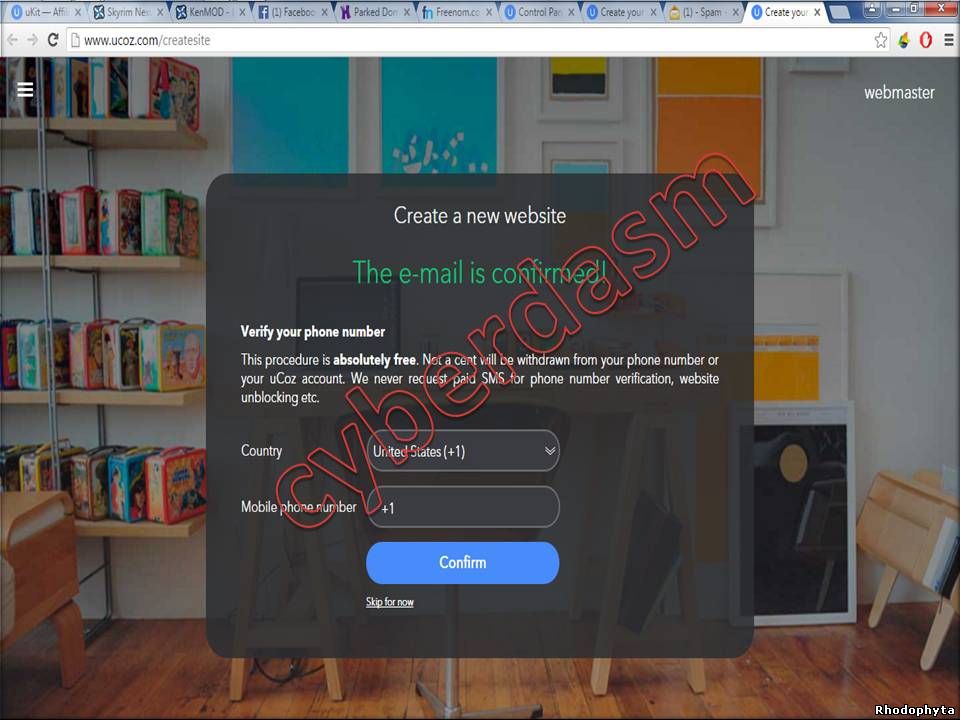
7. Fill up the Secret Question, Secret Answer and Control Panel password. (Note: Kindly use another password for control panel for more security. Use complex password eg: QW4psT7yP because it is the admin password of your website.)
5 Creating a Website. Now you are half-way to go to have a phishing website. Just feel relax and set a peace of mind because there are some complicated actions that we will discuss. To those who are beginners kindly read my instructions carefully to avoid mistakes. Nevermind to those professionals.
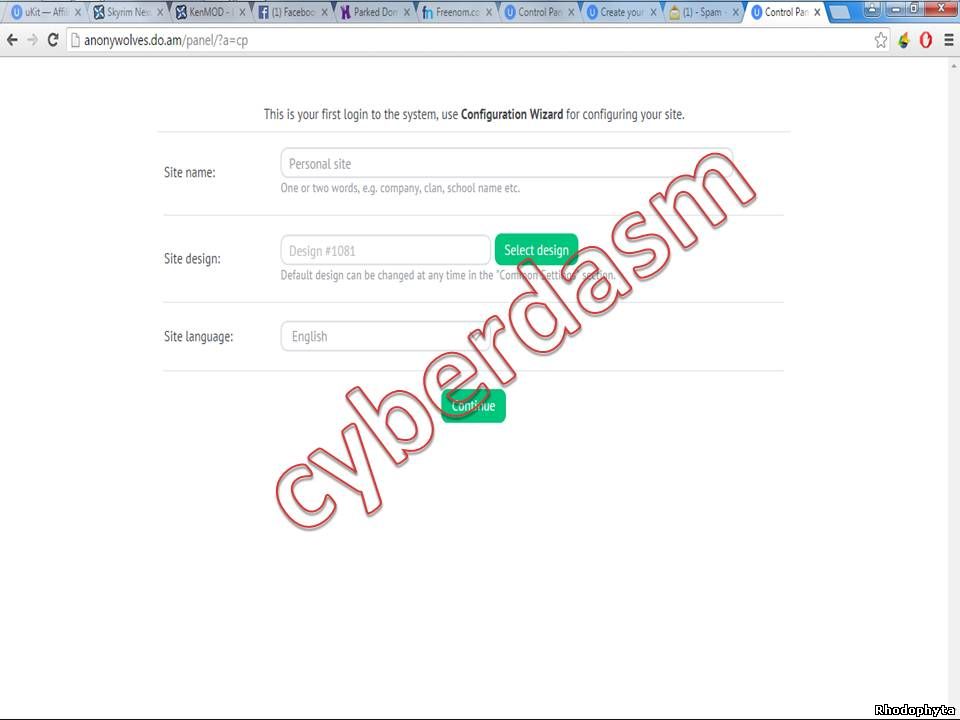
1. Put a good quality KEYWORD for your desired website URL in the white box and then choose domain extension. After that answer the Security Code and don’t forget to check I agree to the Terms of the hosting service. Lastly click Create a Website. You will be redirected in your Configuration Wizard page. (Check the #2 Illustration Image.)

2. Fill up Site name (Name of your website), then select design for your Site design and select a language for your website Site Language. Lastly click Continue.
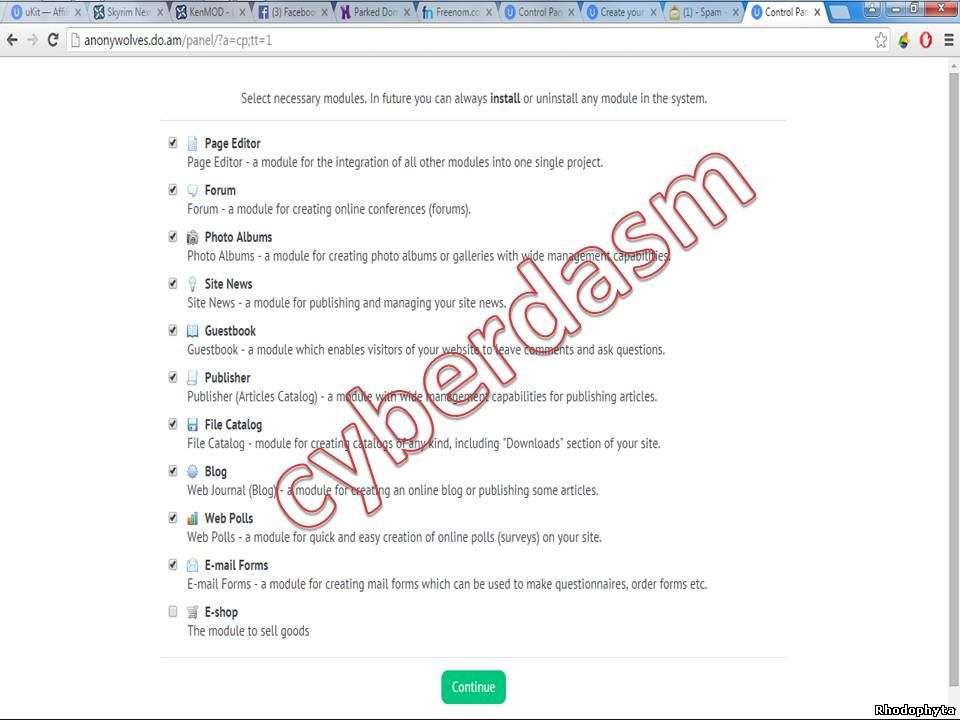
3. Check all those except E-shop and then click Continue. (Refer on the image below.Remember the word (EXCEPT).
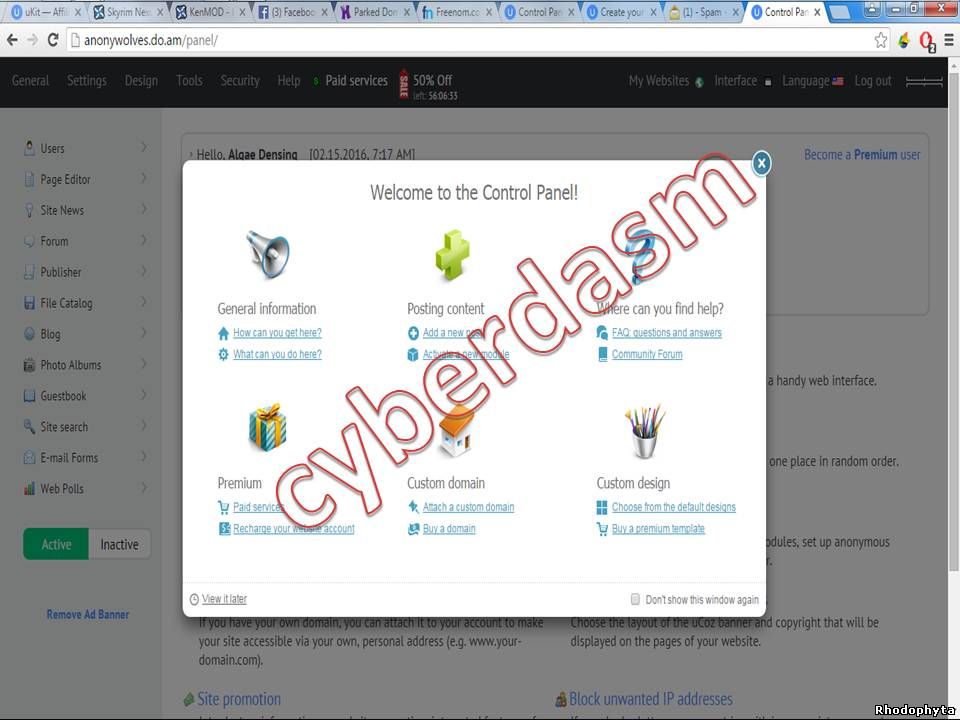
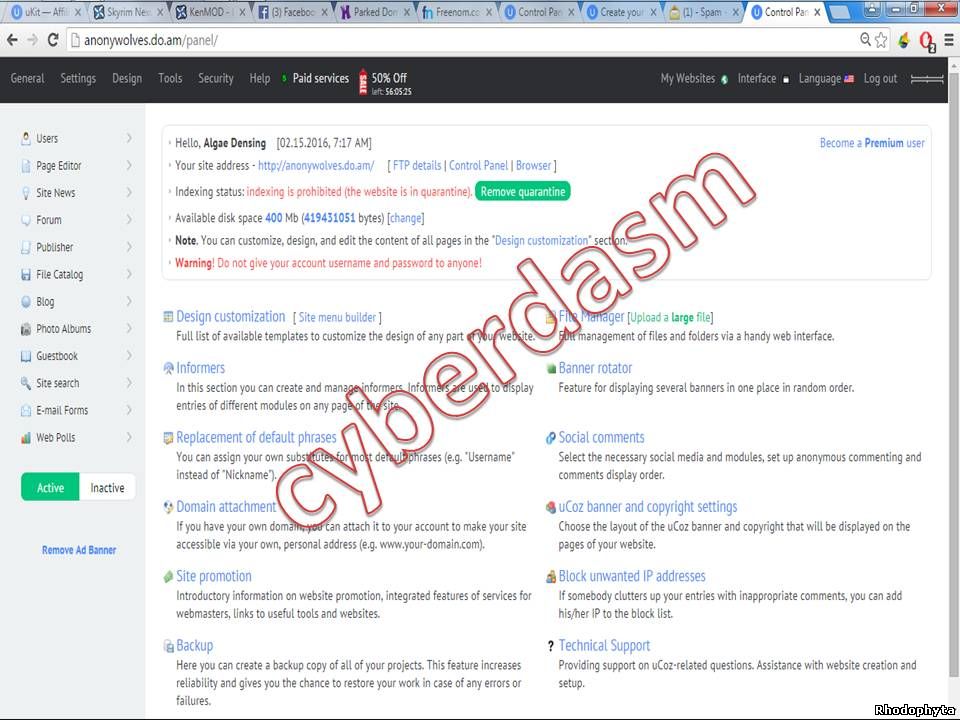
4. Congratulations!!! You are now finish of creating your website. You also have a 400MB disk usage. We are not yet done. You will be annoyed by this window. It will still appear when you re-login. Follow these steps to get rid of that. Kindly check “Don’t show this window again” then click the "circled X."
Take note do not give your password to anybody.
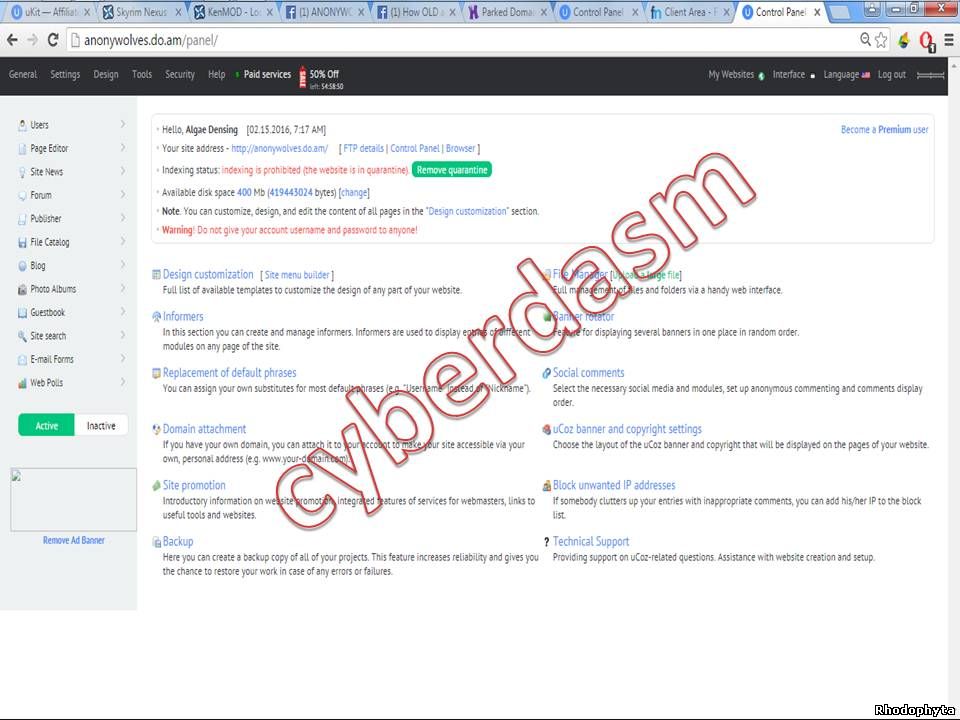
This is the overview of your lifetime website control panel. It doesn't expires as long as you visit it regularly. (Just visit it once a month)
Part 2: D o m a i n N a m e
I use freenom in this tutorial. It has 5 free options of domain name that you can choose. (eg: .ml .tk. .ga .gq .cf) Aside from freenom there are some hosting that offer free domains names if you avail in their promo. One the best example is hostinger. But usually it isn't free of charge.
1. How to register
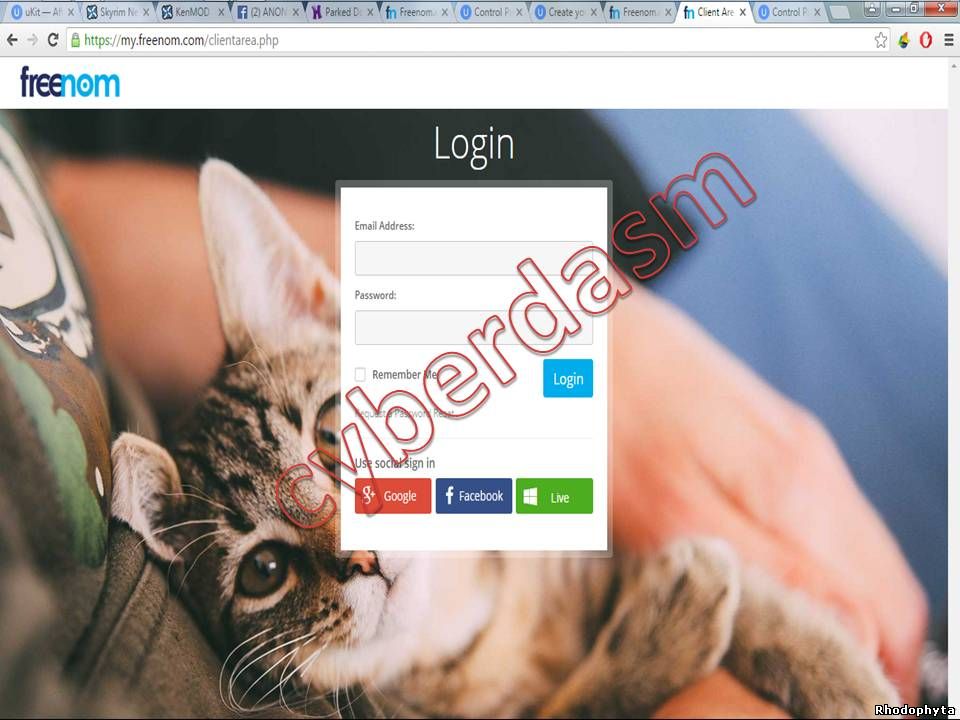
1. Copy this url https://my.freenom.com/clientarea.php or click here. I use Social Sign In (SSI). You have 3 options (facebook, gmail, live), just choose one. A new window will pop up just Agree with its Terms and Services.
2. Creating a Domain Name.
1. After you sign in using SSI or Manual registration you will be redirected in the freenon homepage. Hover your mouse on the Domains then click Register a new domain.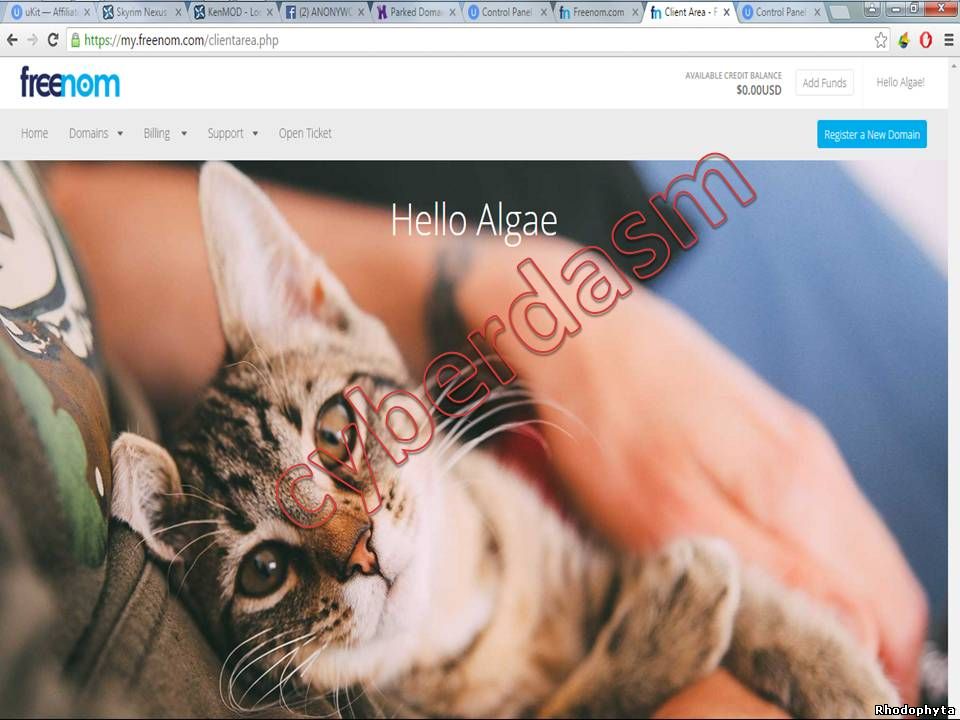
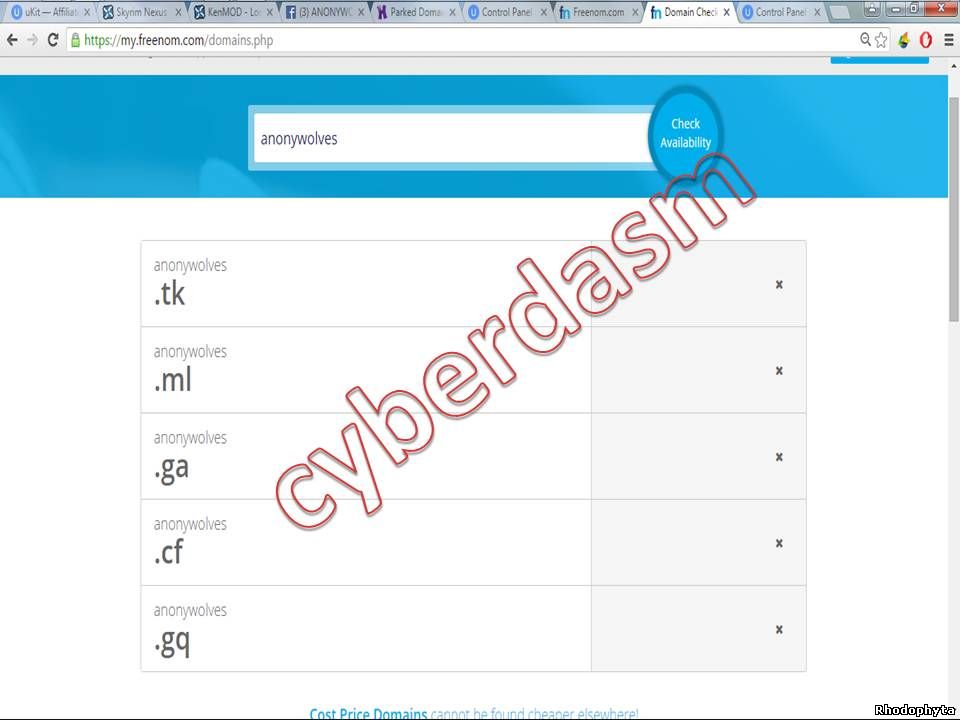
2. Finding the right keyword for your phishing website. In the “Find your new Domain” input a keyword (eg. "SteamCommunity" if you wanted to have a steam community phishing website or else "mfacebook" if you wanted to have a facebook phishing site. Then click "Check Availability".
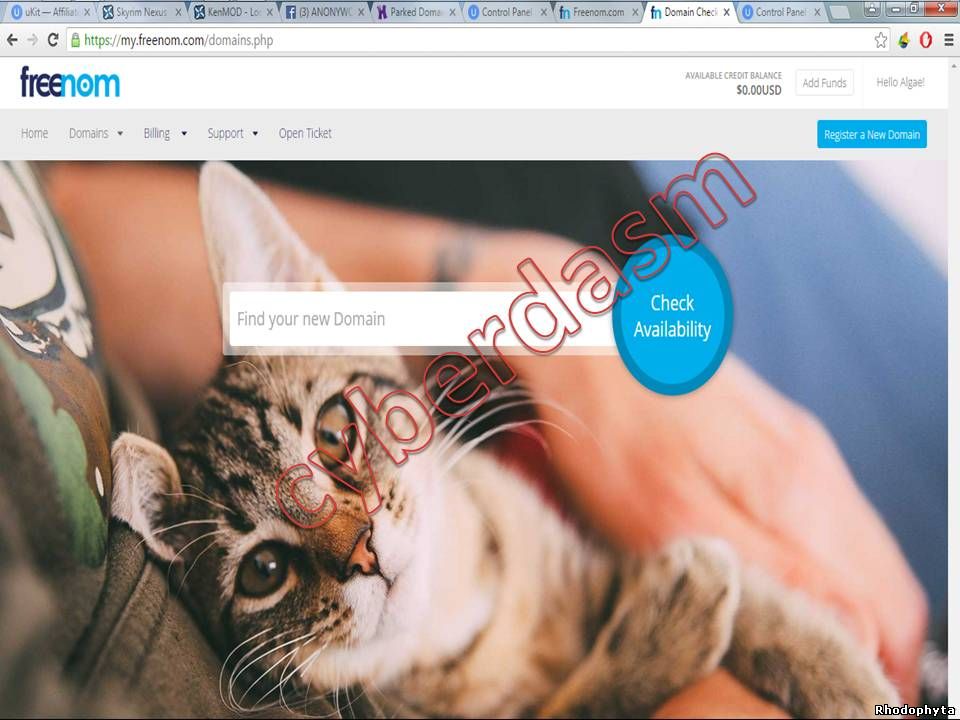
3. Choose a keyword. As you seen in the image below the keyword "anonywolves" is not available and if that happens sad to say that you will choose another keyword. See the next image below.
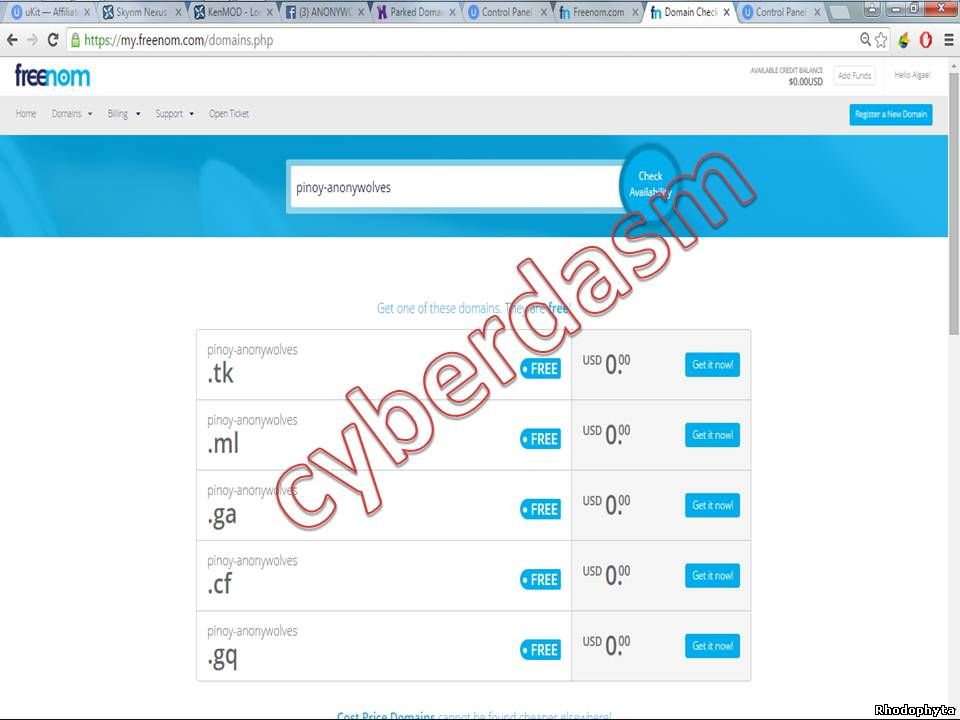
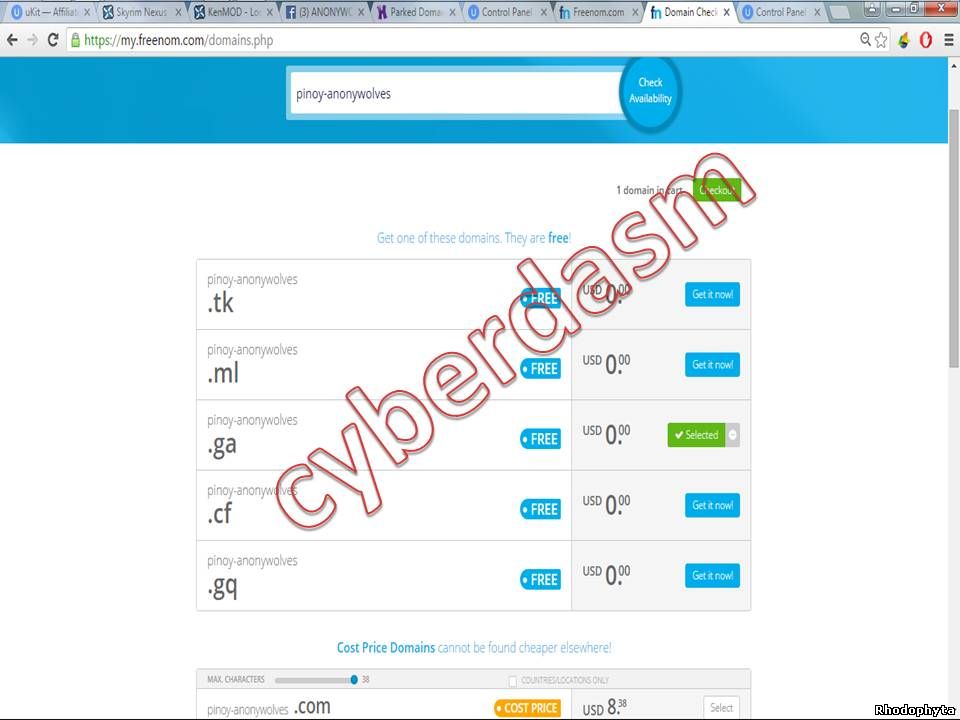
4. Purchasing the Domain Name. Choose one out of five free domain extension. Then click “Get it Now” and then click “Checkout"
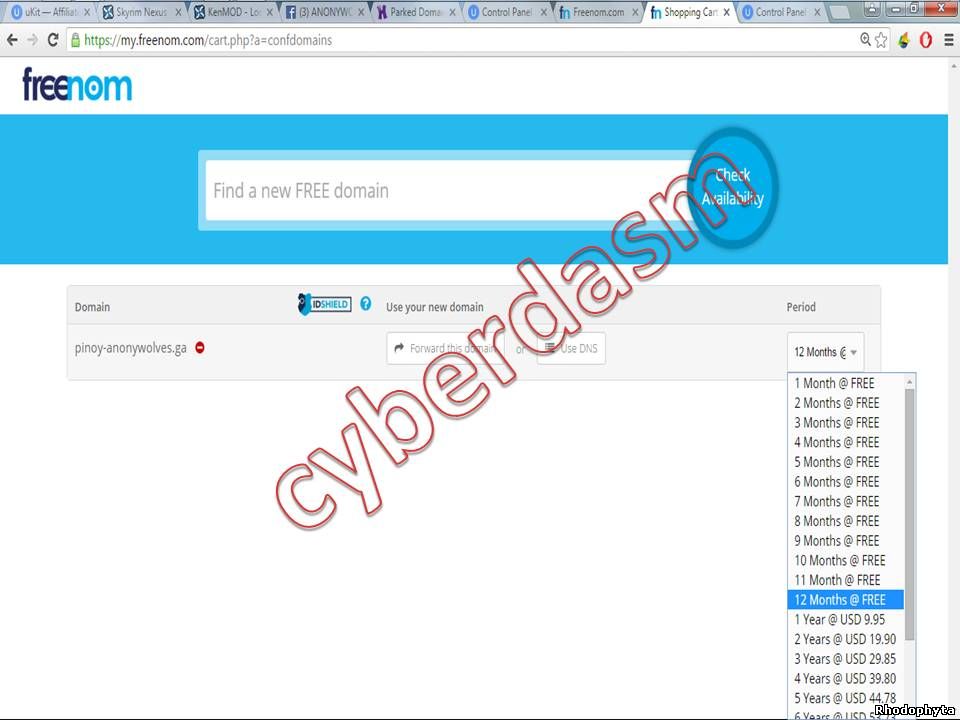
5. Choosing the exact period or duration of the Domain name subcription. Under the Period choose the 12 Months @FREEE then click "Continue".
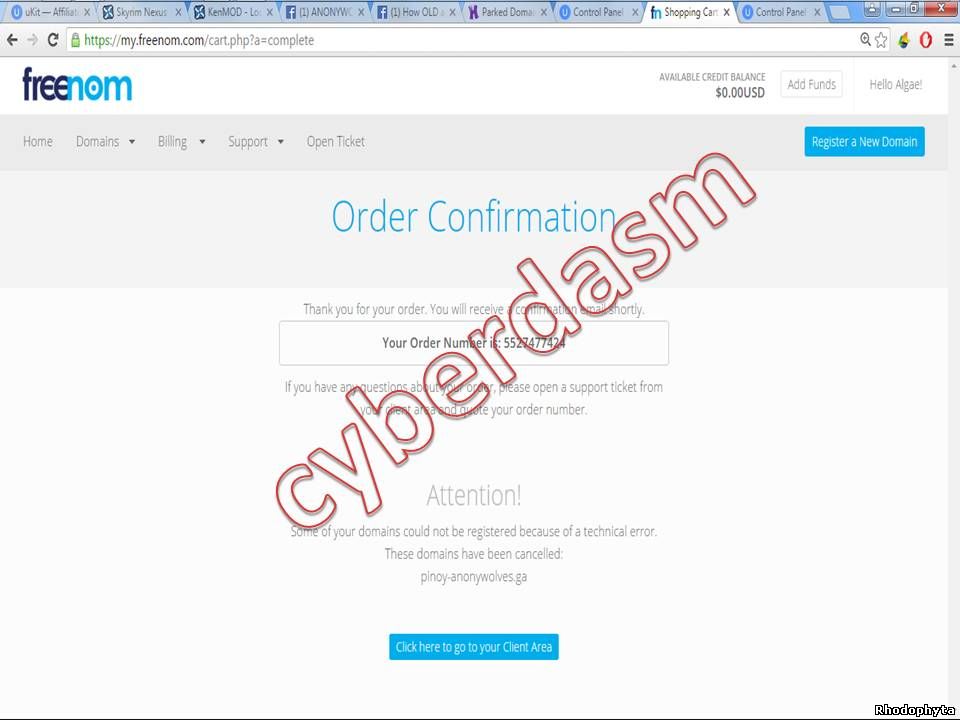
6. Review and Checkout. Fill up all the details then check “I have read and Agree to the Terms & Conditions". Lastly, click “Complete Order”.
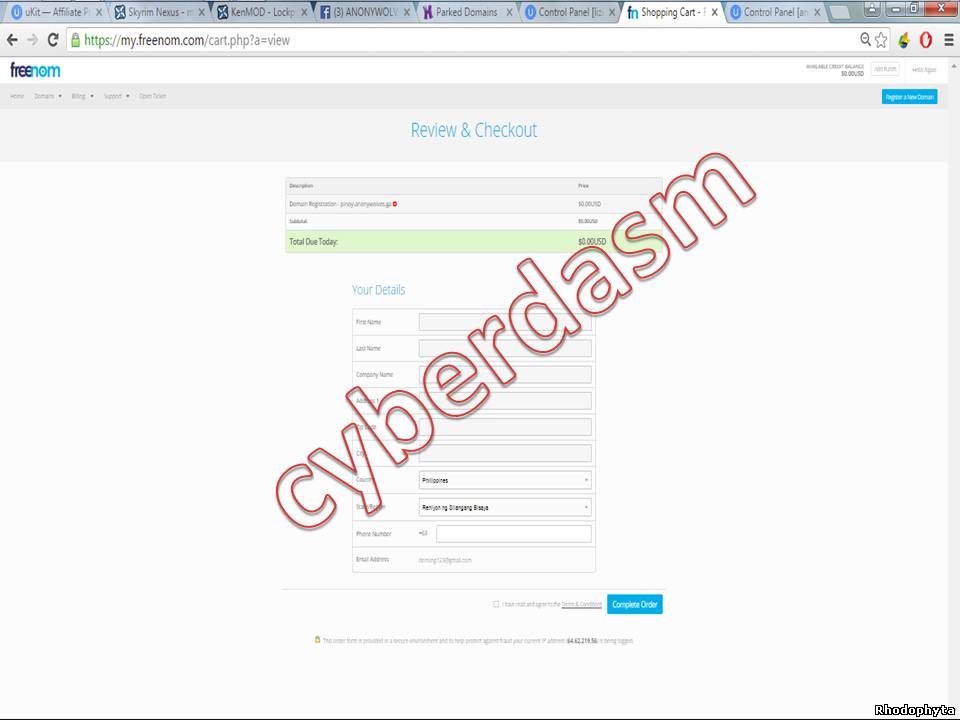
You have now a 1 year free domain subscription.
Part 3 Changing the direction of the Nameserver.
Your free domain name appears blank if you try to visit it. It's because the nameserver hasn't changed. This is a mild tricky part of the guide it needs commons sense. I will explain it clearly, not all the time you will get the same result as mine there are some times that you will wait 24 hours to finish your query or your request. Be patient always.
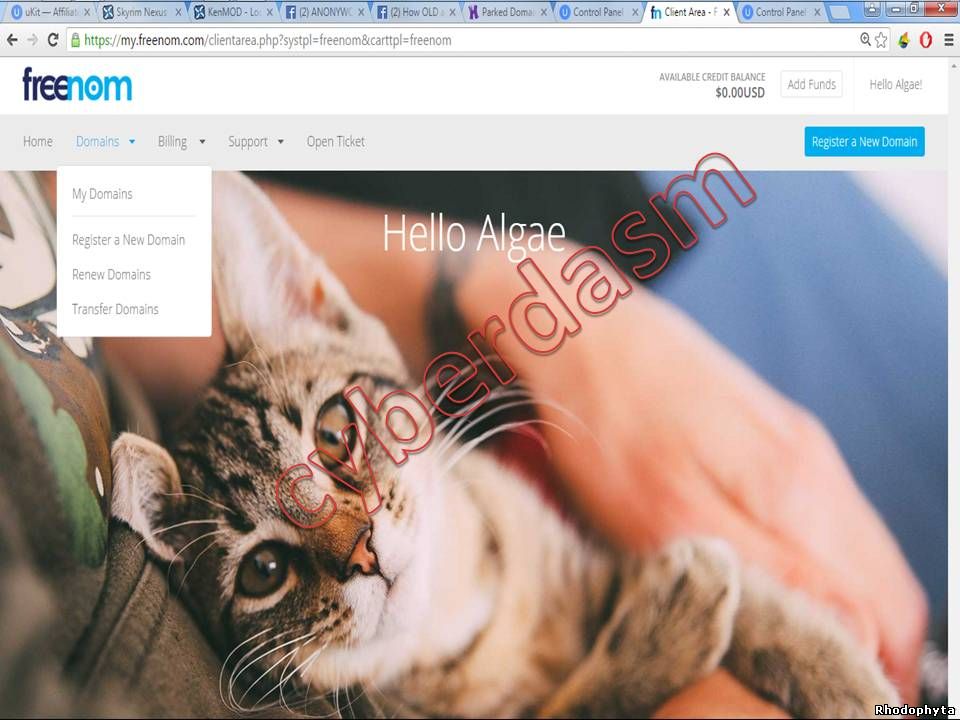
1. Sign in or if your didn't close the above window just click “Click here to go to your Client Area”, then hover you mouse on the Domains, a dropdown menu will appear and click “My Domains”
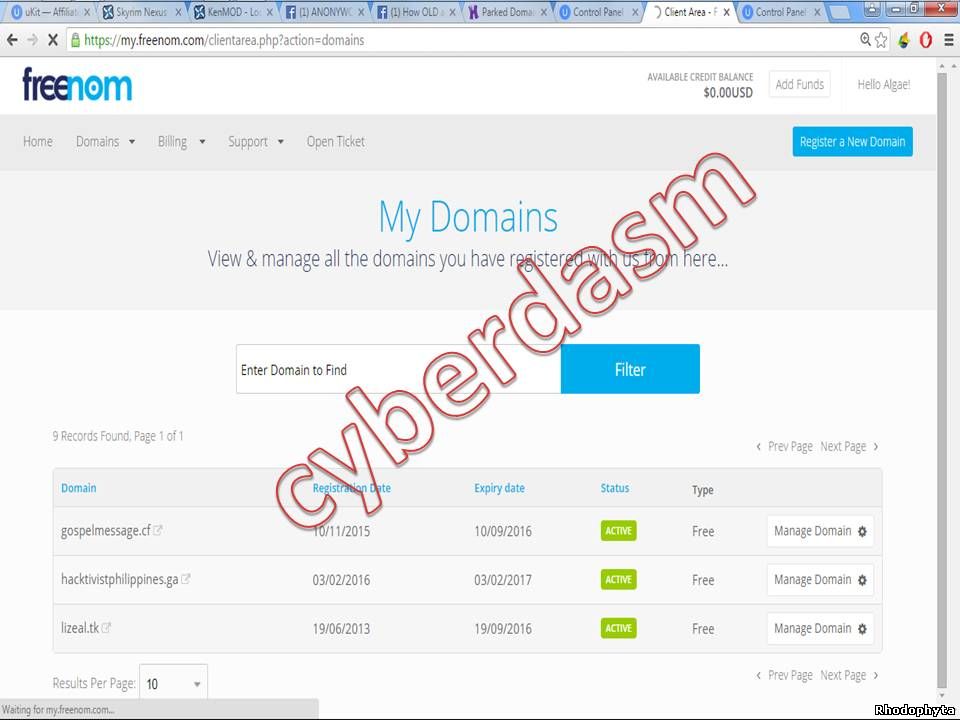
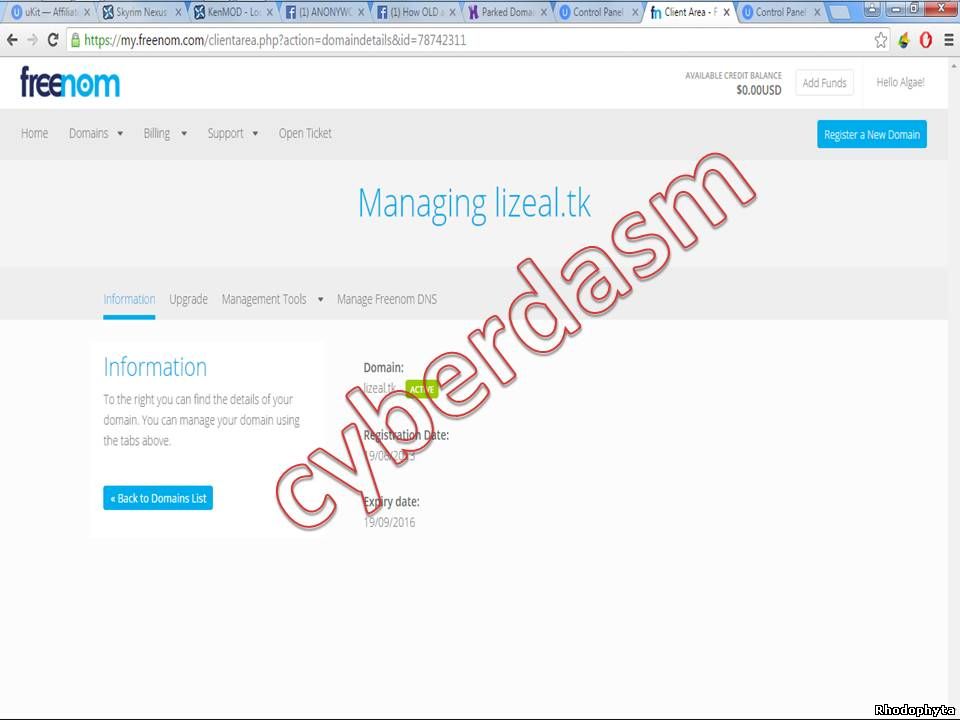
2. Then click "Manage Domains". (Just pick the domains on your list. The domain I register recently cannot be seen because there is a bug on the server side. Instead of pinoy-anonywolves.ga I will chose lizeal.tk as my example.)
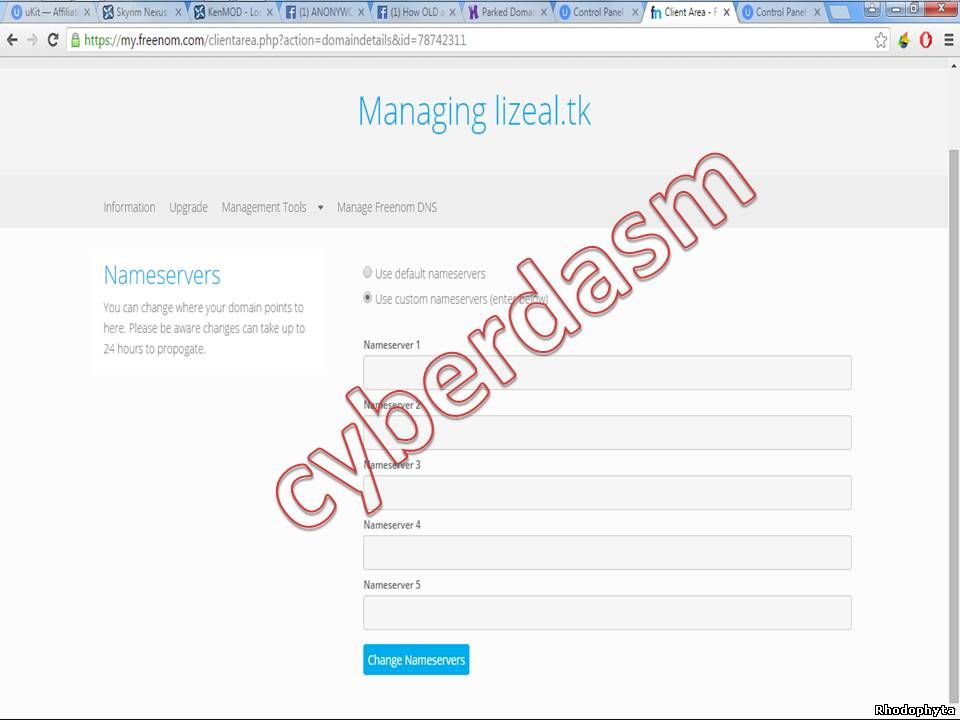
3. Click “Management tools” and click “Nameservers”.
4. If you aren’t able to click the box under the Nameservers. Click Use default nameserver then click Use custom nameservers (enter below)
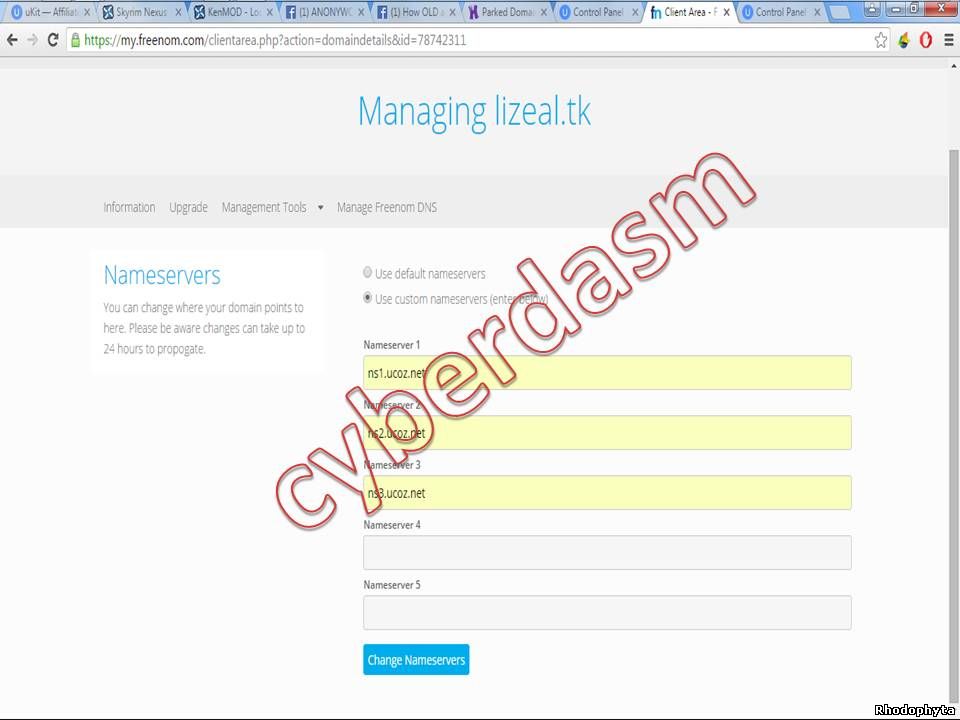
Input this following inside the box: (Refer to the second image below)
- ns1.ucoz.net
- ns2.ucoz.net
- ns3.ucoz.net
and click Change Nameserver.
That's it. As of we will wait 24 hours that is the maximum time.
Part 4 P a r k i n g a n d D o m a i n A t t a c h m e n t
Now we are on the second to the last step of our guide. This is the most complex part. Just read the Note section in each step to acquired knowledge on how it is use. I hope that you will succeed in this part.
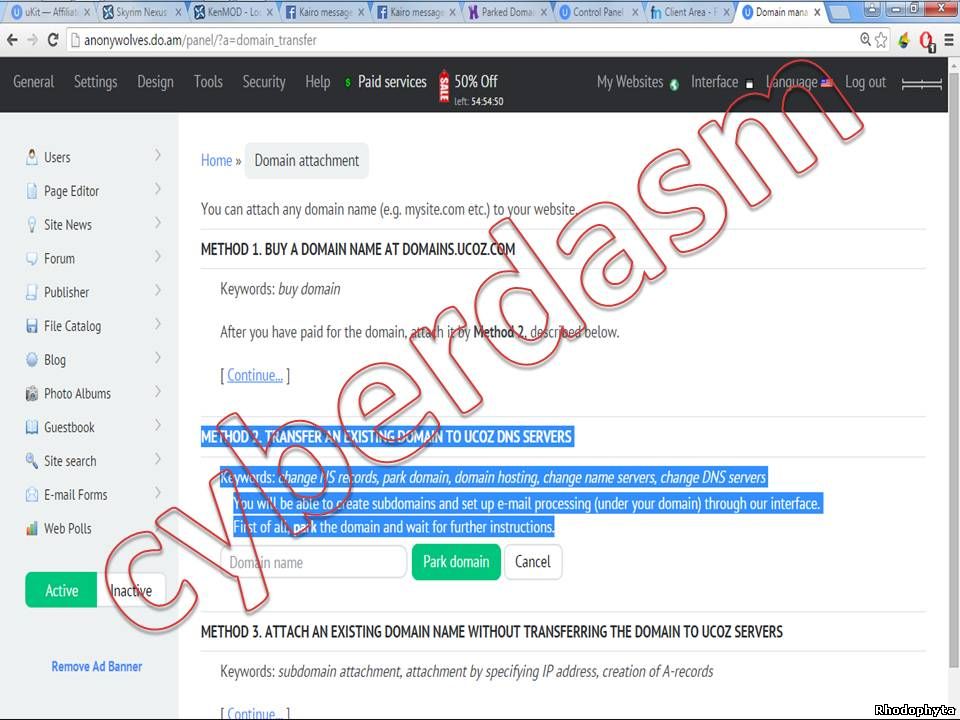
1. Log in to your website control panel. Usually the control panel is like this *www.yourwebsitekeyword.ucoz.com(.net; .org; and so on)/admin or if you don't yet close your website control panel just click “Domain attachment” if not you must re-login then click "Domain attachment". There are times that you will be automatically sign out by your control panel and if this happen just don't panic, it's a server method to protect your account.
2. Click “Continue” of METHOD 2. TRANSFER AN EXISTING DOMAIN TO UCOZ DNS SERVERS.
Input your domain name that you created in freenom in the Domain name box and after that park your domain just click “Park Domain” button beside the box.
Ex. In my freenom I have lizeal.tk (refer to Guide Part 3; Step 2). The lizeal.tk must be put on inside the white rectangle box.
3. Just wait until the server finish to park your domain name. It takes 5 minutes to 4 hours. It depends on the server where you belong.
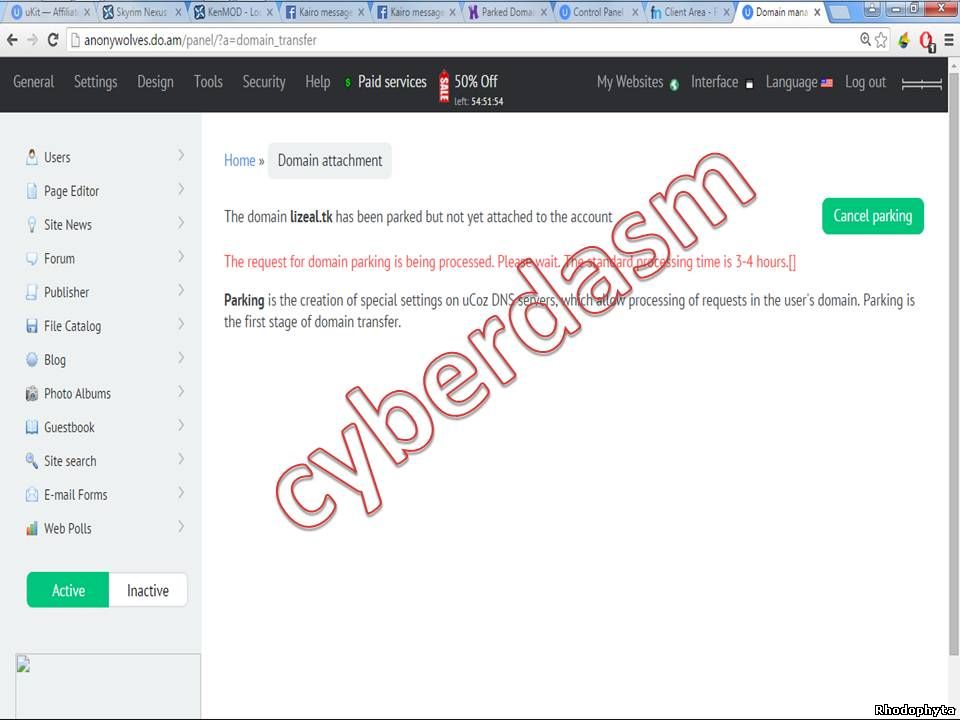
If you encounter this problem just press F5.
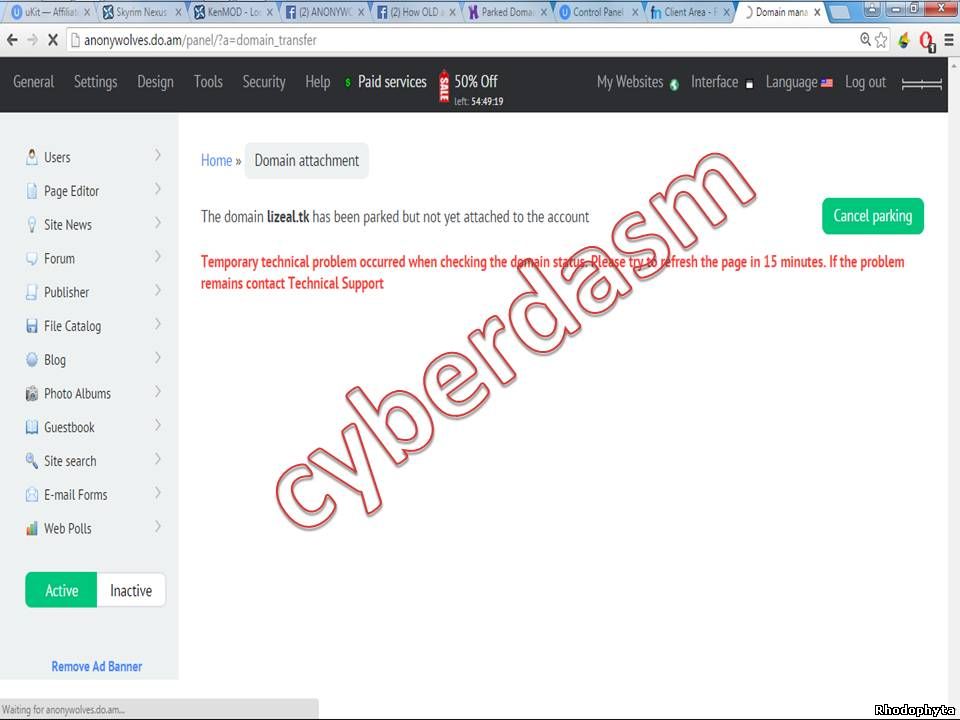
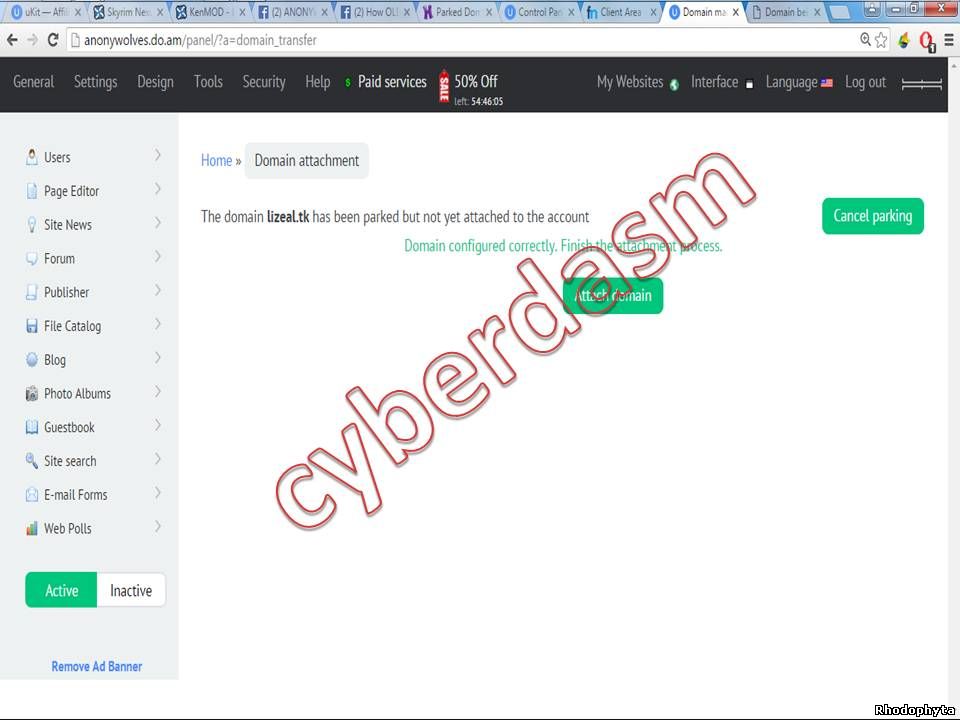
6. After a few minutes or few hours this page will appear. (Kindly refer in the first image below. All you need to do is to click: “Attach Domain” and wait another 20 minutes, for the assurance that your website domain has been attached. (Refer on the second image below)
(Note: If there is no confirmation that says, Domain configured correctly. Finished the attachment process. All you need to do is, copy the message and paste it on the comment section below. Usually the error is, Your nameserver is not configured correctly and so on.)
And that’s it you have now a webhosting + domain name
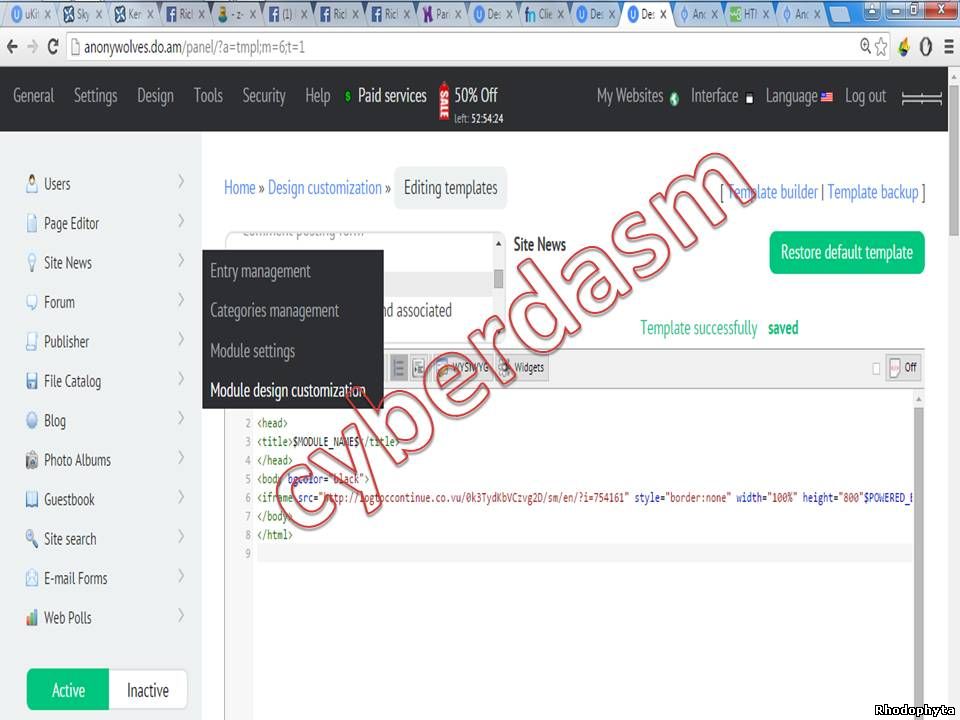
I'm Short of space. Just click the image below to continue our guide.